Setting Up ESP8266 with WLED to Control NeoPixel LEDs
Welcome to Engineering Evening, where we’re about to embark on an illuminating journey (pun intended)! Today, we’ll guide you through the process of setting up an ESP8266 microcontroller with WLED to control NeoPixel LEDs. Get ready to transform your space with vibrant colors, dynamic effects, and endless possibilities. Let’s dive into the world of WLED and unleash the magic of NeoPixel LEDs!
Requirements:
- ESP8266 microcontroller (e.g., NodeMCU, Wemos D1 Mini)
- Alternative: ESP32 microcontroller
- NeoPixel LED strip or ring
- Breadboard and Jumper wires
- Power supply for the NeoPixel LEDs (not necessary for initial setup and tests)
- USB cable for programming and powering the ESP8266
- Computer with the Arduino IDE installed
Note: We support our efforts bringing you these free tutorials through affiliate links. These links are affiliate links which means we do get paid if you click on them and make a purchase. These are the exact products we ordered and used or have great reviews, so you can rest assured there’s no funny business of linking to junk products.
If you appreciate our content, please support us by using our links.
Step 1: Gather Your Materials Before we illuminate the night, make sure you have all the essential components ready. Your ESP8266 microcontroller will be the brain, and the NeoPixel LEDs will be the canvas for your light masterpiece.
Step 2: Install the WLED Firmware
The WLED project has made this lots easier in recent years than it used to be. You can now install the WLED software on the micro controller directly from their special installation website.
Go to https://install.wled.me/ and follow the on-screen instructions. If you run into troubles, they have an excellent knowledge base website with good instructions and alternative installation methods: https://kno.wled.ge/basics/install-binary/
Step 3: Configure WLED
The WLED Installation website normally walks you through these steps, but just in case it didn’t work or you used a different method:
- Once the firmware is uploaded, disconnect the ESP8266 from your computer and power it using a USB power adapter.
- Connect to the WLED Wi-Fi network on your device.
- Once connected your device will prompt you that you need to log in. Clicking to log in will take you to the WLED controller’s web interface.
- Using the WLED web interface, you can configure the WiFi settings and your LED settings, such as the LED type (e.g., WS2812B), number of LEDs, and color order.
Once the WLED controller is connected to your WiFi network, you can use the WLED App found in the Apple/Android app stores to access the settings of your controller.
Step 4: Connect the NeoPixel LEDs
WS2812B LEDs (NeoPixels) have 3 leads (wires): Power (red), Ground (white or black), Data (typically green, but could any other color). If you are setting up a small string of LEDs (250 pixels or less) you can use the ESP8266 to power the LED string. If you are running more than 250, we recommend using a separate power supply for the Power and Ground wires.
- Identify the input end of your NeoPixel LED strip (usually marked with an arrow). Connect the Data wire to the D4 pin on your ESP8266 using jumper wires.
- Power:
- If using a power supply: connect the positive (5V) to the Power wire on the LED strip and the negative (GND) to the Ground wire.
- Otherwise, connect the Power wire to the VIN pin and the Ground wire to any GND pin of the ESP8266.
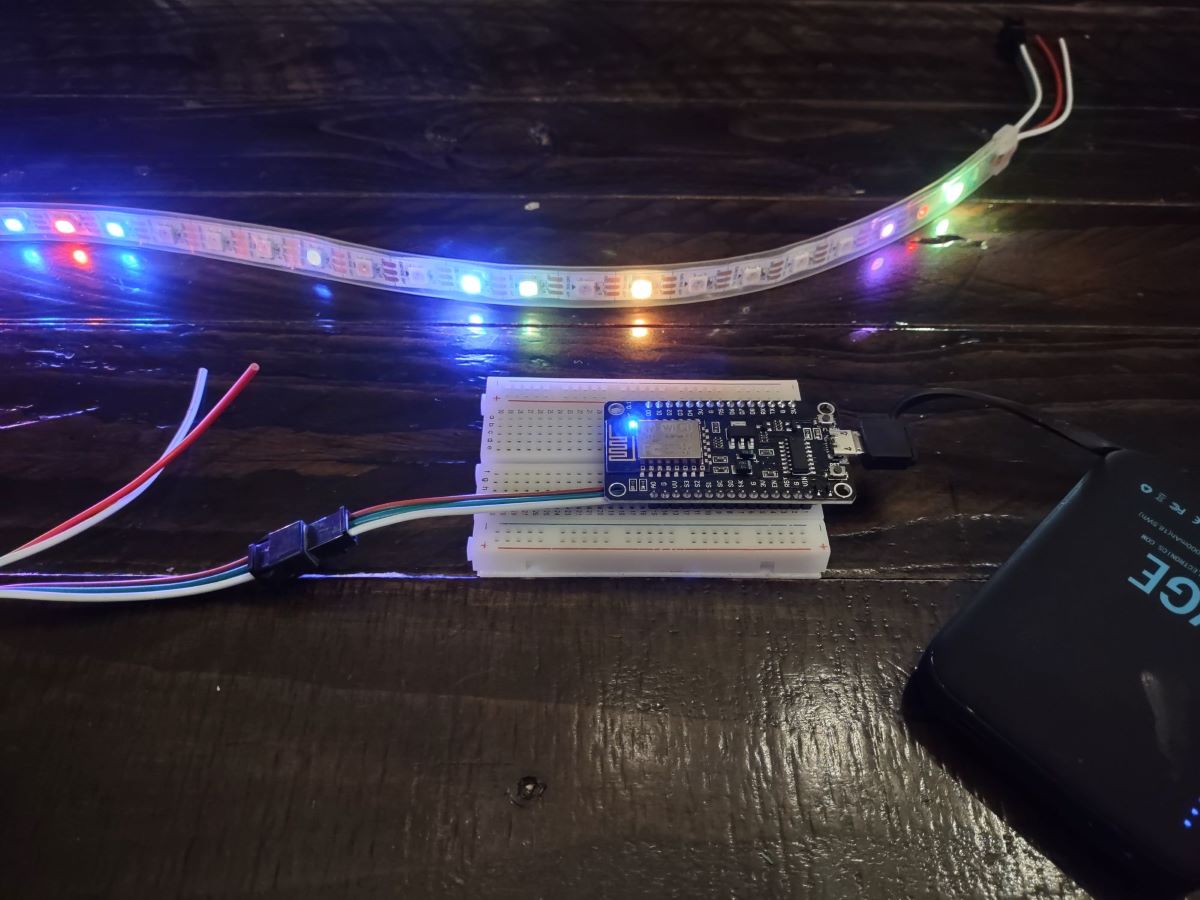
- Connect your USB cable to the ESP8266 controller and then plug it into your power source. If everything is connected correctly, some of your LEDs should power on!
Step 5: Explore WLED Features
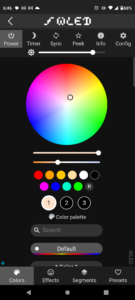
Using the WLED app or by navigating to the ESP8266 on your network (typically by local IP Address), you will find the controls and features of the WLED system. WLED offers a plethora of features and lighting effects to customize your NeoPixel LEDs. Some highlights include:
- Color presets and palettes
- Dynamic effects (rainbow, fire, aurora, etc.)
- Music visualization
- Integration with Home Assistant, MQTT, and Blynk
Step 6: Enjoy the Light Show!
With WLED and your ESP8266 in action, your NeoPixel LEDs are ready to dazzle. Experiment with different effects, colors, and settings to create the perfect ambiance for any occasion.
Conclusion
Congratulations! You’ve successfully set up an ESP8266 microcontroller with WLED to control NeoPixel LEDs, turning your space into a vibrant and dynamic environment. The combination of WLED’s features and the versatility of NeoPixel LEDs opens up endless possibilities for creative lighting projects.
Whether you’re decorating your room, creating ambient lighting, or building a unique art installation, WLED and NeoPixel LEDs are your tools for an illuminating experience. Have fun experimenting, and may your nights be filled with mesmerizing light shows!