
Controlling VLC Player on Raspberry Pi via API
Welcome to Engineering Evening! In this guide, we’ll delve into the world of multimedia manipulation by exploring how to control VLC Player on a Raspberry Pi 4 using HTTP requests. By leveraging the python-vlc-http library in Python, you can orchestrate your media experience with just a few lines of code. Let’s dive into the details and unleash the potential of VLC Player with the power of HTTP commands.
Requirements:
- Raspberry Pi 3b or newer (We used a Raspberry Pi 4 for this tutorial)
- VLC Player installed on Raspberry Pi
- Python installed on Raspberry Pi
- Access to a web browser
Note: We support our efforts bringing you these free tutorials through affiliate links. These links are affiliate links which means we do get paid if you click on them and make a purchase. These are the exact products we ordered and used, so you can rest assured there’s no funny business of linking to junk products.
If you appreciate our content, please support us by using our links.
Step 1: Set Up VLC Player on Raspberry Pi 4
- Open a terminal on your Raspberry Pi.
- Install VLC Player by running the following command:
sudo apt install vlc - Once the installation is complete, launch VLC Player to ensure it’s working correctly.
Step 2: Enable HTTP Interface on VLC Player
- Open VLC Player and navigate to “Tools” -> “Preferences.”
- In the “Show settings” section at the bottom left, select “All” to show advanced settings.
- In the left sidebar, navigate to “Main Interfaces” -> “HTTP.”
- Check the box next to “Web interface” to enable the HTTP interface.
- Set a password under “Authentication” for added security.
- Click “Save” to apply the changes.
Step 3: Install python-vlc-http Library
- Open a terminal on your Raspberry Pi.
- Install the python-vlc-http library using pip:
pip install python-vlc-http
Step 4: Sample Python Code
Now, let’s create a simple Python script to control VLC Player through HTTP requests. Create a new Python file, for example, vlc_control.py, and add the following code:
from python_vlc_http import HttpVLC
import time
from subprocess import Popen
#Launch VLC and load [media file]
Popen(['vlc','[media_file]'])
time.sleep(3) #Wait 3 seconds for VLC to open
controller = HttpVLC('http://[ip_address]:[port]', '', '[your_password]')
time.sleep(3) #Wait 3 seconds for the script to establish a connection to VLC
controller.play()
print("current state of the VLC player: "+controller.state())
time.sleep(5)
controller.pause()
print("current state of the VLC player: "+controller.state())
time.sleep(2)
controller.seek(2) #Jump to a specific second of play
controller.play()
print("current state of the VLC player: "+controller.state())
time.sleep(3)
controller.stop()
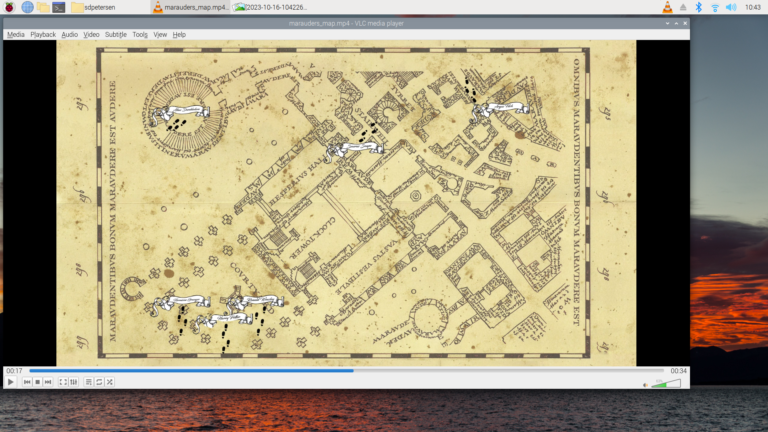
print("current state of the VLC player: "+controller.state())This script will establish a connection to the VLC Player application, Play the file for 5 seconds, Pause the play, jump to (Seek) 3 seconds, Play again for 3 seconds and then Stop playing. At each step that changes the state of the player, there is code to output the state of the player to the Python console.
Make sure to replace [ip_address], [port], and [your_password] with your VLC server’s IP address, port, and password and replace [media_file] with the media file (video, audio, playlist) that you wish to launch.
Notes:
- If the python script is running on the same Pi that is playing the video, then you can use the local IP Address of 127.0.0.1
- The default
[port]is 8080 [your_password]is the password you set in step 2.5- There are few options for launching VLC (and checking if it’s ready), this is only one option. Check out our tutorial for how to set up a Raspberry Pi to launch a looped video automatically on boot for another option.
Check out the GitHub documentation for python-vlc-http for additional functions you can do to control Python: https://github.com/MatejMecka/python-vlc-http
Step 5: Run the Script
Execute the Python script by running the following command in the terminal:
python vlc_control.pyThis script initiates VLC control actions such as play, pause, and stop.
Conclusion:
Congratulations! You’ve successfully set up VLC Player on your Raspberry Pi to accept HTTP requests and controlled it using Python with the python-vlc-http library. This opens the door to countless possibilities for automating your media experience. Explore the python-vlc-http documentation for more advanced functionalities and integration options. Happy coding and enjoy your seamlessly controlled multimedia experience!